Glow Instantly With This DIY Sugar Scrub
If you’re looking for a simple way to achieve glowing skin, a DIY sugar scrub might be just what you need. This rejuvenating treatment combines natural ingredients that exfoliate and hydrate, enhancing your complexion without harsh chemicals. With just a few easy steps, you can create a customized scrub that fits your skincare needs perfectly. Let’s explore how to make and use this effective beauty treatment for radiant results.
Key Takeaways
- Combine granulated sugar with a nourishing carrier oil like coconut or almond to create a moisturizing base for your scrub.
- Add essential oils such as lavender or citrus for a delightful fragrance and additional skin benefits.
- Incorporate natural exfoliants like coffee grounds or oatmeal for enhanced texture and stimulation of circulation.
- Gently massage the scrub onto clean, damp skin in circular motions for 5-10 minutes to maximize exfoliation and hydration.
- Rinse thoroughly with warm water and follow with moisturizer to lock in hydration for a glowing complexion.
Benefits of Using a Sugar Scrub
When you incorporate a sugar scrub into your skincare routine, you’ll quickly discover its numerous benefits for your skin.
Sugar scrubs effectively exfoliate, removing dead skin cells and revealing a brighter, smoother complexion. By using homemade scrubs, you gain complete control over the ingredients, ensuring they’re natural and free from harmful chemicals. This not only promotes healthier skin but also minimizes irritation.
Additionally, sugar’s natural humectant properties help retain moisture, keeping your skin hydrated and supple. Regular use of a sugar scrub can enhance circulation, promoting a youthful glow. Reducing skin aging is further supported by the incorporation of sugar scrubs into your routine.
You’ll find that it can even assist in reducing the appearance of blemishes and uneven texture. Embracing sugar scrubs is a simple yet powerful step toward achieving radiant, revitalized skin.
Ingredients You’ll Need
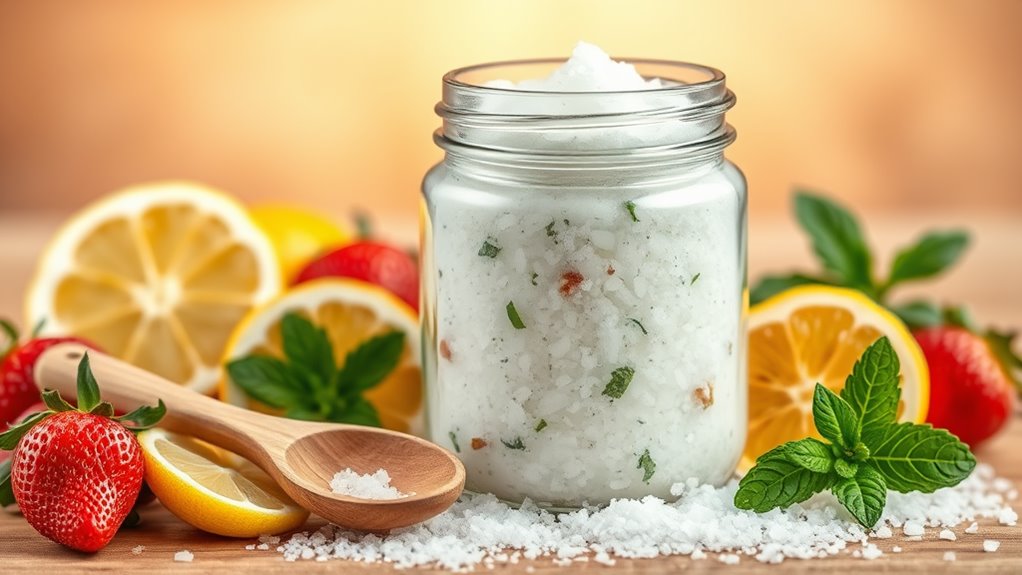
To create your own sugar scrub, you’ll need just a few simple ingredients that you likely already have at home. The beauty of this scrub lies in its versatility, allowing you to customize it to your preferences. Here’s a quick overview of what you’ll need:
| Ingredient | Purpose |
|---|---|
| Granulated Sugar | Exfoliates and removes dead skin |
| Carrier Oil | Moisturizes and nourishes skin |
| Essential Oil | Adds fragrance and therapeutic benefits |
Using granulated sugar as the base, you can choose your favorite carrier oil, such as coconut or olive oil. Enhance your scrub with essential oils like lavender or lemon for added aromatherapy. With these key ingredients, you’re well on your way to achieving that coveted glow! Additionally, specific ingredients like sugar can help naturally reduce the appearance of dark spots and hyperpigmentation.
Step-by-Step Instructions
Now that you have your ingredients ready, it’s time to get started.
You’ll learn the best mixing techniques to combine everything smoothly.
Finally, we’ll cover how to apply your scrub and rinse it off for the best results.
Gather Your Ingredients
Gathering your ingredients is essential for creating the perfect DIY sugar scrub, as the right combination can make all the difference in texture and scent.
Start with granulated sugar, which serves as the key exfoliant. Next, choose an oil—coconut, almond, or olive oil work beautifully—to moisturize your skin.
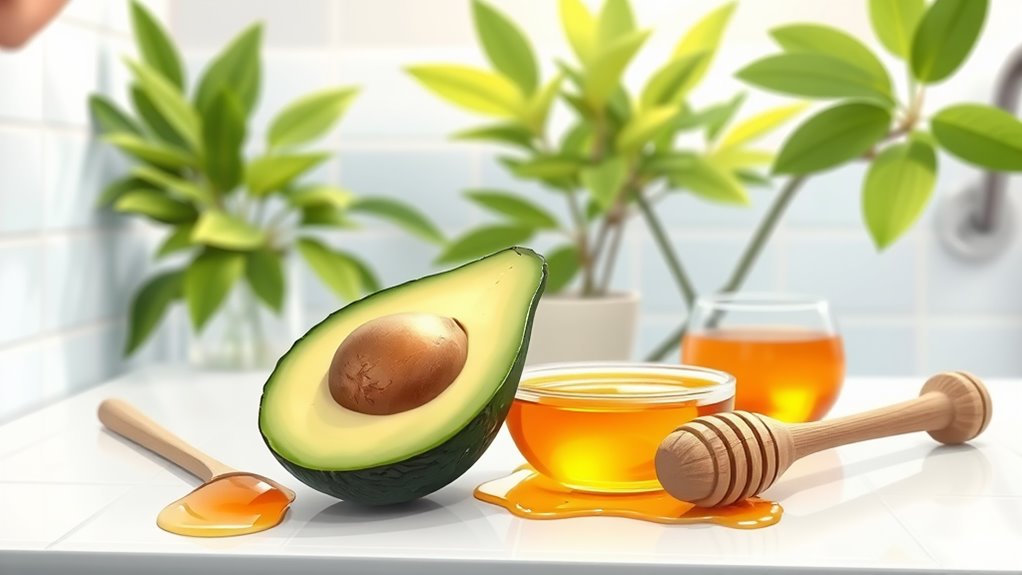
Don’t forget to add a few drops of your favorite essential oil for a personalized fragrance; lavender or eucalyptus are popular choices. You might also consider adding a splash of honey for its nourishing properties.
Finally, grab a mixing bowl and a spoon to combine everything seamlessly. With your ingredients ready, you’re one step closer to achieving that glowing skin you desire.
Mixing Techniques Explained
Once you’ve got all your ingredients, it’s time to mix them together for a smooth, effective scrub. Start by placing your sugar in a mixing bowl, ensuring it’s the base of your scrub.
Gradually add your oil, pouring it slowly to control the consistency. If you’re incorporating essential oils, now’s the time to add a few drops.
Use a spatula or spoon to combine the ingredients, stirring gently until you achieve a uniform texture. You want it to be thick enough to hold together but not too dry.
Once everything’s well-blended, take a moment to assess the smell and texture, adjusting oil or fragrance as needed. Perfecting this balance is key to mastering your DIY sugar scrub.
Application and Rinse Tips
Before you begin applying your DIY sugar scrub, make sure your skin is clean and slightly damp.
Scoop a generous amount of scrub into your hands and gently massage it onto your skin using circular motions. Focus on areas that need extra attention, like elbows and knees. This technique not only exfoliates but also promotes blood circulation, enhancing your skin’s glow.
Continue scrubbing for about 5-10 minutes, allowing the natural oils to nourish your skin. Rinse off the scrub with warm water, ensuring all residue is removed.
Pat your skin dry with a soft towel—avoid rubbing. For best results, follow up with a moisturizer to lock in hydration and keep your skin feeling silky smooth.
Enjoy your radiant complexion!
Tips for Application
When applying your DIY sugar scrub, start by dampening your skin with warm water to open up your pores.
Take a generous amount of the scrub in your hands and gently massage it onto your skin in circular motions. Focus on areas that need extra care, such as elbows and knees, but avoid sensitive spots.
Don’t rush the process; spend at least 5 minutes scrubbing to allow the sugar to exfoliate effectively. Rinse thoroughly with warm water, ensuring no residue remains.
For added hydration, follow up with your favorite moisturizer.
Remember, the key to mastering this technique is consistency and gentle pressure—too much force can irritate your skin.
Enjoy the revitalizing sensation and revel in your glowing results!
How Often to Use the Scrub
Using your DIY sugar scrub about 1 to 2 times a week is ideal for most skin types. This frequency allows your skin to reap the benefits of exfoliation without overdoing it.
If you’ve got sensitive skin, start with once a week and monitor how your skin reacts. You’ll want to avoid irritation, so adjust accordingly.
For oilier skin types, you might find that twice a week works best, helping to keep breakouts at bay and promoting a smoother texture.
Always listen to your skin; it’s your best guide. After using the scrub, follow up with a moisturizer to lock in hydration and enhance your glow.
Master the timing, and you’ll maintain radiant, healthy skin effortlessly.
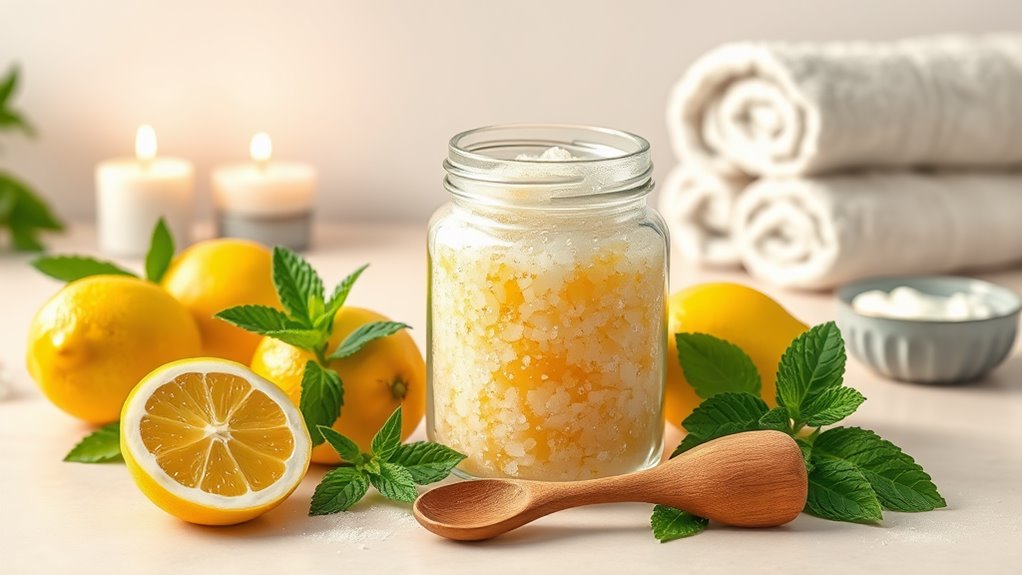
Storage Tips for Your Sugar Scrub
To keep your DIY sugar scrub fresh and effective, store it in an airtight container in a cool, dry place. Glass jars with tight-fitting lids work best, as they prevent moisture and air from degrading the ingredients.
If you’re using a plastic container, make certain it’s BPA-free to avoid chemical leaching. Avoid placing your scrub in direct sunlight or humid areas, as these conditions can compromise its quality.
For longer shelf life, consider refrigerating your scrub, but remember to let it warm up to room temperature before use.
Additionally, always use clean hands or a spatula to scoop out your scrub, minimizing contamination. Following these storage tips will make certain your sugar scrub maintains its potency and provides maximum benefits.
Customizing Your Sugar Scrub
Customizing your sugar scrub lets you create a blend that suits your skin’s needs and your personal preferences.
You can choose different sugar types for varying textures, add essential oils for fragrance and benefits, and incorporate natural exfoliants for an extra boost.
Let’s explore how to make your scrub uniquely yours!
Choose Your Sugar Type
Choosing the right sugar type is essential for crafting a personalized sugar scrub that suits your skin’s needs. Granulated white sugar is a popular choice for its fine texture, effectively exfoliating without being too harsh.
If you’re aiming for a gentler option, consider using brown sugar; its natural moisture content makes it perfect for sensitive skin, providing a soothing experience.
For a more robust scrub, raw sugar offers larger granules that deliver deeper exfoliation, ideal for tougher areas like elbows and feet.
Each sugar type brings unique benefits, so think about your skin’s specific requirements. By selecting the right sugar, you’re laying the foundation for a scrub that enhances your skin’s radiance and overall health.
Tailor your scrub for maximum effectiveness!
Add Essential Oils
While you can create a fantastic sugar scrub using just sugar and a carrier oil, adding essential oils elevates the experience to a whole new level. Essential oils not only infuse your scrub with delightful fragrances but also offer various skin benefits.
For relaxation, consider lavender or chamomile; for invigoration, peppermint or citrus oils work wonders. Always remember to dilute essential oils properly—typically, 10-15 drops per cup of carrier oil is ideal. This guarantees you reap the benefits without overpowering your skin.
When you blend these oils with your scrub, you enhance its aroma and therapeutic properties, making each exfoliation a luxurious ritual. Experiment with combinations to discover your personal favorite while guaranteeing safety and skin compatibility.
Incorporate Natural Exfoliants
To enhance your sugar scrub even further, think about incorporating natural exfoliants that can elevate its effectiveness and texture. These ingredients not only improve your scrub’s consistency but also offer additional skin benefits.
| Exfoliant | Benefits |
|---|---|
| Coffee Grounds | Stimulates circulation, reduces puffiness |
| Oatmeal | Soothes irritation, hydrates skin |
| Sea Salt | Detoxifies, revitalizes skin |
| Almond Meal | Rich in vitamins, nourishes skin |
| Ground Walnut Shells | Provides a deeper exfoliation |
Additional Skin Care Tips for Glowing Skin
For radiant, glowing skin, incorporating a few essential skin care tips into your routine can make a significant difference.
Focus on these key practices to elevate your skin’s health and appearance:
-
Stay Hydrated: Drink plenty of water to keep your skin plump and hydrated.
-
Use Sunscreen: Protect your skin from UV damage every day, even when it’s cloudy.
-
Moisturize Regularly: Choose a moisturizer suitable for your skin type to maintain hydration.
-
Prioritize Sleep: Aim for 7-8 hours of quality sleep to promote skin cell regeneration, as poor sleep can accelerate aging and negatively impact your skin’s appearance.
Frequently Asked Questions
Can I Use This Scrub on My Face?
Yes, you can use this scrub on your face, but make sure your skin isn’t sensitive. Gently massage it in circular motions, then rinse thoroughly. Your skin will feel refreshed and rejuvenated afterward.
Is This Sugar Scrub Safe for Sensitive Skin?
This sugar scrub may irritate sensitive skin due to its exfoliating properties. It’s best to patch test a small area first. If irritation occurs, you should avoid using it on your sensitive skin entirely.
How Long Does the Scrub Last After Making?
After making the scrub, it lasts about two weeks if stored in an airtight container in the fridge. Just remember to check for any changes in texture or smell before using it again.
Can I Add Essential Oils to the Scrub?
Absolutely, you can add essential oils to the scrub! Just a few drops of your favorite oil can enhance the scent and provide additional skin benefits, making your scrub even more enjoyable and effective.
What Should I Do if I Have Allergies?
If you have allergies, consult a healthcare professional before trying new products. Always patch test any ingredients on a small skin area first, and avoid known allergens to prevent adverse reactions or irritation during use.
Conclusion
By incorporating this DIY sugar scrub into your routine, you’ll reveal the secret to radiant skin in no time. You’ve got the power to customize it with your favorite oils and scents, making it a truly personal skincare treat. Regular use will not only exfoliate but also hydrate your skin, leaving it smooth and glowing. So, grab your ingredients and start scrubbing—your skin will thank you for this invigorating boost! Enjoy the glow!