These DIY Face Masks Are TikTok Famous for a Reason
You’ve likely seen the buzz around DIY face masks on TikTok, and there’s a solid reason for their popularity. These recipes blend simple, natural ingredients with creative flair, making skincare accessible to everyone. Users rave about their results, but what exactly makes these masks so effective? Let’s explore the top viral recipes and the unique benefits they offer for your skin.
Key Takeaways
- TikTok influencers popularize DIY face masks, showcasing creative recipes using simple kitchen ingredients like honey and avocado.
- These masks offer personalized skincare solutions, empowering users to address their unique skin needs.
- Viral recipes, such as charcoal detox and avocado hydration masks, provide various skin benefits, from cleansing to nourishing.
- Community feedback highlights transformative results, including smoother skin and reduced blemishes, enhancing the trend’s credibility.
- Incorporating natural ingredients and aromatherapy oils elevates the DIY experience, making skincare routines enjoyable and effective.
The Rise of DIY Face Masks on TikTok
As TikTok continues to shape beauty trends, DIY face masks have surged in popularity, enchanting users with their creativity and accessibility. You’ve likely noticed influencers showcasing unique combinations of ingredients right from their kitchens.
This surge isn’t just a fad; it’s a movement towards individualized skincare that empowers you to take control of your beauty routine. With simple household items like honey, avocado, and yogurt, you can craft effective treatments tailored to your skin’s needs.
Plus, the viral nature of these DIY face masks often leads to experimentation, fostering a vibrant community of creators sharing tips and tricks. Embrace this trend, and you’ll not only elevate your skincare game but also enjoy the satisfaction of creating your own luxurious treatments at home.
Top Viral Face Mask Recipes You Need to Try
Looking to refresh your skincare routine?
You’ll love trying out viral face mask recipes like the Charcoal Detox Mask, Avocado Hydration Boost, and Honey Brightening Treatment.
Each one offers unique benefits that can transform your skin in no time! Incorporating natural ingredients into your masks can further help in reducing the appearance of dark spots and hyperpigmentation.
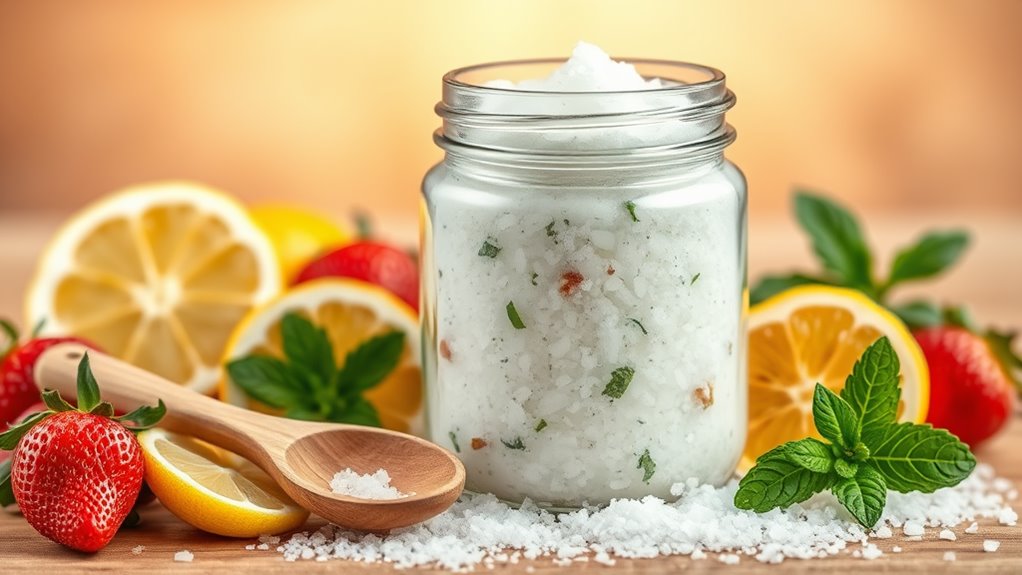
Charcoal Detox Mask
If you’re in search of an invigorating way to cleanse your skin, the Charcoal Detox Mask might just be what you need. This powerful mask draws out impurities, leaving your complexion refreshed and radiant.
Here’s how to master this trendy recipe:
-
Ingredients: Activated charcoal, bentonite clay, water, tea tree oil, and honey.
-
Mix: Combine equal parts of activated charcoal and bentonite clay.
-
Add: Slowly incorporate water to achieve a paste-like consistency.
-
Infuse: Stir in a few drops of tea tree oil and a teaspoon of honey for added benefits.
-
Apply: Spread the mask evenly on your face, let it sit for 10-15 minutes, then rinse off.
Enjoy a deep cleanse and say goodbye to dull skin!
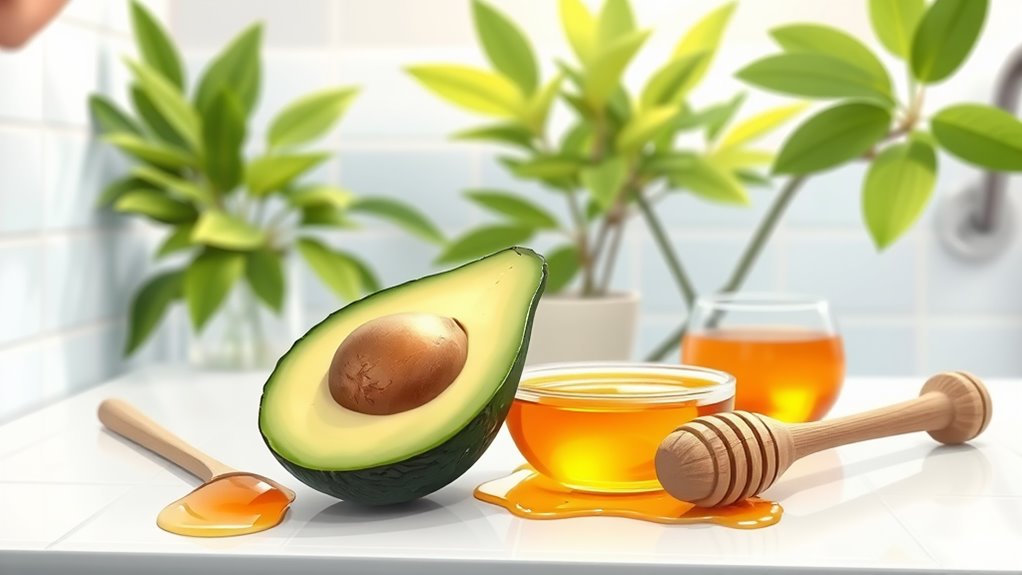
Avocado Hydration Boost
After giving your skin a thorough cleanse with the Charcoal Detox Mask, it’s time to hydrate and nourish.
The Avocado Hydration Boost is a game-changer in your skincare routine. Grab one ripe avocado and mash it until smooth. Mix in a tablespoon of honey for added moisture and antibacterial benefits.
If you want an extra boost, add a teaspoon of olive oil for its rich fatty acids. Apply this creamy mixture evenly across your face and let it sit for 15-20 minutes.
As it sits, your skin will absorb the vitamins and antioxidants, leaving you with a radiant glow. Rinse with warm water, and enjoy the supple, hydrated skin that follows.
Your skin will thank you for this luxurious treat!
Honey Brightening Treatment
You’ll love the Honey Brightening Treatment, a simple yet effective mask that can transform your skin. This natural remedy harnesses the power of honey to hydrate, brighten, and rejuvenate your complexion.
Here’s what you’ll need to create this TikTok-famous mask:
- 1 tablespoon of raw honey
- 1 tablespoon of lemon juice
- 1 tablespoon of yogurt
- 1 teaspoon of turmeric (optional for extra glow)
- A small bowl for mixing
Combine these ingredients until you achieve a smooth consistency.
Apply the mixture to your face, leave it on for 15-20 minutes, and then rinse with warm water. Your skin will feel refreshed and radiant, leaving you ready to shine.
Embrace this DIY treatment and take your skincare routine to the next level!
Key Ingredients and Their Benefits
When creating your DIY face masks, knowing the key ingredients can make a big difference.
Each popular ingredient offers unique benefits for your skin, whether it’s hydration, exfoliation, or soothing irritation.
Incorporating ingredients that help stop aging skin can greatly enhance the effectiveness of your skincare routine.
Let’s explore how these ingredients can transform your skincare routine.
Popular Ingredient Highlights
Crafting your own face masks can be both fun and rewarding, especially when you know the key ingredients that can elevate your skincare routine.
Here are some popular ingredients to evaluate:
-
Honey: Natural humectant, locks in moisture.
-
Avocado: Packed with healthy fats, nourishes and hydrates.
-
Yogurt: Contains lactic acid, gently exfoliates and brightens skin.
-
Oatmeal: Soothes irritation, ideal for sensitive skin.
-
Activated Charcoal: Draws out impurities, helps clear pores.
Skin Benefits Explained
Understanding the benefits of key ingredients can greatly enhance your DIY face mask experience. For example, honey’s natural humectant properties attract moisture, leaving your skin hydrated and soft.
If you add yogurt, you’ll benefit from its lactic acid, which gently exfoliates, promoting a brighter complexion. Activated charcoal is excellent for detoxifying; it draws out impurities and excess oil, making it a fantastic choice for oily skin.
Oatmeal soothes irritation and provides anti-inflammatory benefits, perfect for sensitive skin types. Finally, essential oils like lavender not only provide a calming scent but also offer antibacterial properties.
How to Properly Apply DIY Face Masks
Applying DIY face masks can be a transformative experience for your skin, so it’s essential to follow the right steps to maximize their benefits. Here’s how to apply your mask like a pro:
-
Cleanse your face: Start with a fresh canvas to remove dirt and oils.
-
Exfoliate gently: Buff away dead skin cells to enhance absorption.
-
Apply the mask: Use your fingertips or a brush to evenly spread the mask, avoiding the eye area.
-
Set a timer: Follow the recommended duration; don’t leave it on too long.
-
Rinse thoroughly: Use lukewarm water to remove the mask, then pat your skin dry.
Skin Types and Suitable Mask Options
Choosing the right face mask for your skin type can make all the difference in achieving glowing, healthy skin.
If you have oily skin, opt for masks with clay or charcoal to absorb excess oil and unclog pores.
For dry skin, creamy masks with hydrating ingredients like honey or avocado will nourish and restore moisture.
If your skin’s sensitive, look for soothing masks containing aloe or chamomile to calm irritation.
Combination skin can benefit from multi-masking—using different masks on various areas.
For aging skin, consider masks with antioxidants or retinol to promote elasticity and radiance.
Tailoring your masks to your skin’s unique needs guarantees you maximize their benefits, leading to a more vibrant complexion.
Common Mistakes to Avoid
Even the best face masks can disappoint if you make common mistakes during application or removal. To guarantee your DIY mask works wonders, keep these five pitfalls in mind:
-
Skipping Patch Tests: Always test a small area first to avoid reactions.
-
Applying on Dirty Skin: Cleanse your face thoroughly—dirt can block absorption.
-
Overusing Ingredients: Less is more; don’t overload your mask with too many components.
-
Ignoring Recommended Time: Stick to the suggested duration; too long can irritate your skin.
-
Improper Removal: Use lukewarm water to gently wash off, guaranteeing no residue lingers.
Enhancing Your Mask Experience With Add-Ons
To truly elevate your DIY face mask experience, consider adding natural ingredients that boost its benefits.
You can also personalize your mask with a few drops of your favorite aromatherapy oils for a soothing touch.
These simple add-ons can transform your skincare routine into a spa-like indulgence.
Natural Ingredients Boost Benefits
While a basic DIY face mask can work wonders for your skin, adding natural ingredients can elevate the experience and enhance the benefits.
Here are some potent add-ins to contemplate:
- Honey: A natural humectant that hydrates and soothes.
- Avocado: Packed with healthy fats, it nourishes and revitalizes.
- Greek Yogurt: Rich in probiotics, it exfoliates and brightens.
- Aloe Vera: Known for its calming properties, it reduces irritation.
- Turmeric: An anti-inflammatory powerhouse that promotes an even skin tone.
Incorporating these ingredients into your mask not only amplifies the effects but also transforms your skincare routine into a luxurious ritual.
Experiment with combinations to discover what works best for your unique skin type, and watch your complexion thrive.
Personalize With Aromatherapy Oils
Aromatherapy oils can elevate your DIY face mask experience, infusing it with delightful scents and additional benefits for your skin. To master this technique, choose oils that align with your skin’s needs. For instance, lavender promotes relaxation and soothes irritation, while tea tree oil combats acne.
Just add a few drops of your chosen oil to your mask mixture, mixing thoroughly to guarantee even distribution.
Experiment with blends—combine eucalyptus for a revitalizing boost with chamomile for calming effects. Always perform a patch test beforehand to avoid irritation.
Storage Tips for Leftover Masks
When you’ve whipped up a batch of DIY face masks and have some leftovers, proper storage is essential to maintain their effectiveness. Follow these tips to guarantee your masks stay fresh:
-
Use airtight containers**** to prevent exposure to air and bacteria.
-
Label your containers with the date and ingredients for easy reference.
-
Store in the fridge for masks with perishable ingredients, like fruits or dairy.
-
Avoid freezing unless specified; it can alter texture and efficacy.
-
Check for spoilage before each use; if it smells off or looks different, toss it.
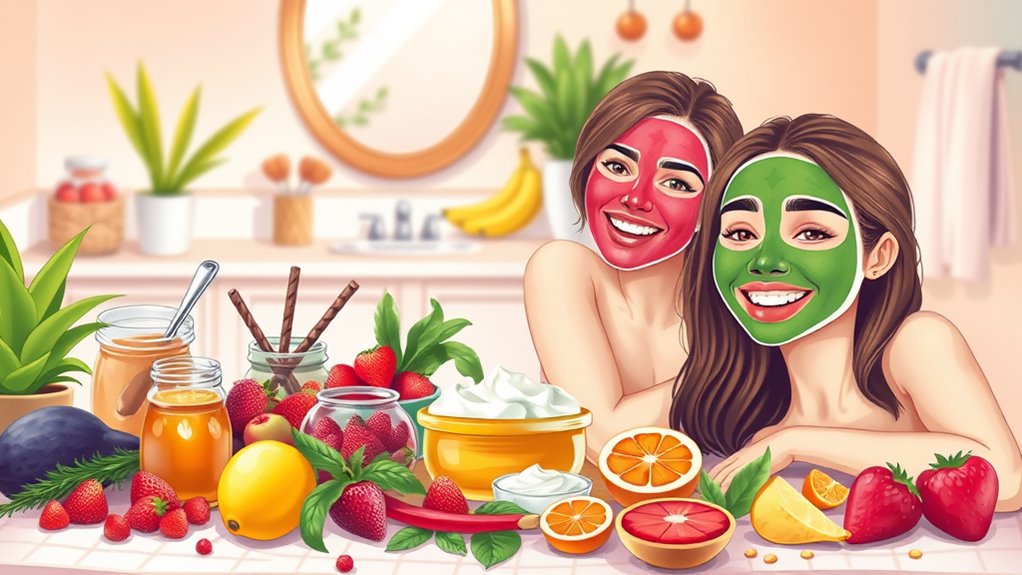
User Testimonials: Real Results From Tiktok Users
After ensuring your DIY masks are stored properly, it’s exciting to see how others are benefiting from similar creations. TikTok users rave about their experiences, showcasing real results that inspire confidence.
You’ll find testimonials highlighting smoother skin, reduced blemishes, and a radiant glow, all thanks to simple ingredients. For instance, one user shared how a banana and honey mask transformed her dry skin into a hydrated canvas.
Another praised the effectiveness of an avocado face mask, crediting it for her newly balanced complexion. These stories reflect a community enthusiastic to share knowledge and results, reinforcing the effectiveness of DIY masks. Additionally, many users have noted that incorporating scientifically-proven ingredients can enhance the results of their masks, further promoting an even skin tone.
Beyond Skincare: The Therapeutic Benefits of DIY Masks
There’s something undeniably soothing about the process of creating and applying DIY face masks. It’s not just about skincare; it’s a therapeutic ritual that enhances your well-being.
When you take the time to craft and indulge in these masks, you engage multiple senses and foster mindfulness. Here’s how you benefit:
-
Stress Relief: The act of creating can be meditative.
-
Mindfulness: Focusing on the application encourages presence.
-
Creativity Boost: Experimenting with ingredients sparks innovation.
-
Self-Care Ritual: Dedicating time to yourself nurtures mental health.
-
Connection: Sharing recipes with friends builds community.
Frequently Asked Questions
Can I Use Expired Ingredients in My DIY Face Masks?
You shouldn’t use expired ingredients in your DIY face masks. Expired items can lose effectiveness and even cause irritation. Always check expiration dates to guarantee your skin gets the best care and benefits from fresh ingredients.
How Often Should I Use DIY Face Masks for Best Results?
You should use DIY face masks 1-3 times a week, depending on your skin type. Consistency is key, so listen to your skin’s needs, and adjust frequency for best results without overdoing it.
Are There Any Specific Allergies to Consider With Common Mask Ingredients?
When making DIY face masks, consider allergies to ingredients like honey, avocado, or essential oils. Always patch-test new combinations on your skin to avoid irritation and verify the mask suits your unique sensitivities.
Can I Mix Different Recipes for a Customized Face Mask?
You can mix different recipes for a customized face mask. Just make certain the ingredients complement each other and suit your skin type. Experimenting will help you find the perfect blend for your unique needs.
What Should I Do if I Have an Adverse Reaction to a Mask?
If you experience an adverse reaction to a mask, immediately rinse your face with lukewarm water, apply a gentle moisturizer, and avoid using the mask again. Monitor your skin and consult a dermatologist if symptoms persist.
Conclusion
DIY face masks are more than just a trend; they’re a fun way to elevate your skincare routine. With natural ingredients at your fingertips, you can tailor each mask to your unique needs. By experimenting with different recipes and sharing your results, you join a vibrant community that celebrates beauty and creativity. So, grab your kitchen staples, release your inner beauty guru, and enjoy the therapeutic benefits of these homemade masks. Your skin will thank you!